For this project we were told to take macro shots of everyday items. with this project ive learnt a few things, one would be that to take better photos you have to angle some shots before you take the picture. another one would be that the closer you are to the object the better its going to look.
What is Silence. In a short photo essay of between 7-10 shots why are we Silent today. Vow of Silence is done for a reason.
Explain the difficulty of being Silent.
Show why we are Silent during Vow of Silence.
Show examples of Silence in spaces of great noise.
How can you be silent in a noisy world.
Your Final post for the Double exposure should have the following,
Title ASDFG's Double Exposure
Label Double Exposure, Harbeck, Your Name
In the body you should have the following.
Double Exposure
Picture 1 (person)
Picture 2 (background)
Url's where you found them
Repeat this for your second one done from online sources.
For your own photo you need to choose two portraits one landscape and one portrait. If you do not have a good portrait and just landscapes crop your photo to the right size.
YOur portrait
Photo you will have taken outside for a background
Double Exposure.
Repeat for the 2nd photo
All together you are expected to have 4 double exposure photos here. YOu will have 8 photos or more that make up the layers of your Double Exposures. Due Thursday of next week April 20 before class.
Our GCT assignment was to recreate a movie poster. For my poster I chose the movie, Cool Runnings. To create my poster I used the magnetic lasso, magic wand, rubber stamp and the text tool.
Overall I think it was pretty easy because the poster is pretty simple and I only needed to take 2 pictures edit 1. If I could change it I would probably change the quality by taking the pictures in a different location.
For this project we were told to create our own stop motion videos, within this project i learned that to make a longer and smoother stop motion video, you have to move the figures centimeter by centimeter and take multiple shots as well. i also learned how hard and time consuming producing a stop motion animation is, because if you accidentally move the object your taking pictures of too far it come out really noticeable. Although all in all i enjoyed making a stop motion video, i think the experience from this will help me with future projects.
-Vince Torres
For this assignment we were told to go around the school, our homes, and anywhere else and take pictures of either objects and or structure that would resemble a letter. A few things i liked about this project was that it opened up my mind a little bit more and see things for more than what they really are. not only did it teach me to look at things and resemble them to objects it also taught me to be more creative, which i think is going to help me when taking future photos. And although it was a challenge for certain letters, but all in all i think i enjoyed doing this assignment.
Our stop motion shows many of the different colors that are apart of the color wheel.
The basic storyline of this stopmotion is to have a variety of different colors, also we used the paper to sybolize that you can make anything with imagination. Meaning we colored the paper red to show it turning into an apple hense the color red. We used the different color of pencil crayons and the different color of m&m's to symobilize that they were a part of the pencil crayons. We also decided to use a combination of different items to make the stopmotion not basic and more interesting. We didnt want to settle with one item.
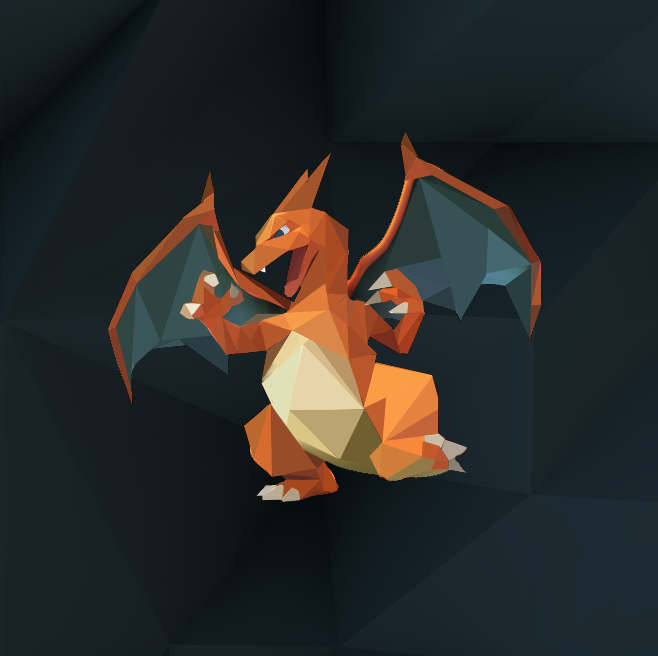
for this project i based my assingment on a form of polygon art. Polygon are is where you take any photo of your choice and make draw polygons on it and then color that one area a specific area, the shapes should usually have sharp ends to achieve a polygon look.
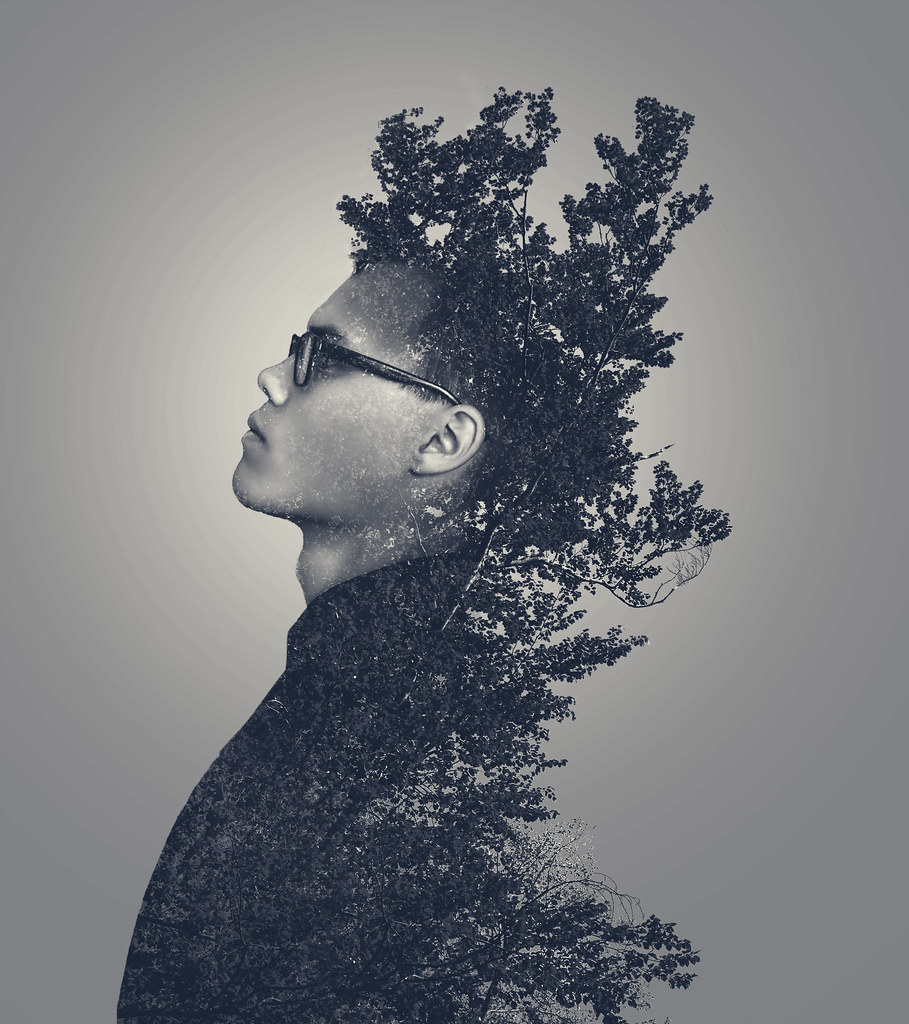
For my second project i chose to do double exposure. double exposure is when you take two photos, most specifically one silhouette and one background photo. After choosing you then play around with the transperancy of the first picture until you get the desired look that you like.
________________________________________________________________ The PhotoShop assignment I chose to do was a Polaroid Collage. I chose to do this because (in my opinion) it stood out. The steps I took to complete this assignment were:
1.The Polaroid. For the polaroid I drew two rectangles. The first one was a black rectangle, and the second was a larger white one.
2.Polaroid Background. For the 'picture' of the polaroid I selected the black square with the magic wand, switched to the background image, and hit control J. (Ctrl J switches the black to the part of the image where the shape is located)
3.Repeat. After my first polaroid I continued to fill the 'canvas' with MANY more 'Polaroids'. The way I accomplished this was repeating step two, but moving the 'polaroid' before pressing Ctrl J.
4. (optional) Add a background. For my 'Polaroid Collage' I did not add a background due to the canvas being to small (or the Polaroids being to large), but if you decide to do this, you Are able to add a background by deleting/replacing the original image.
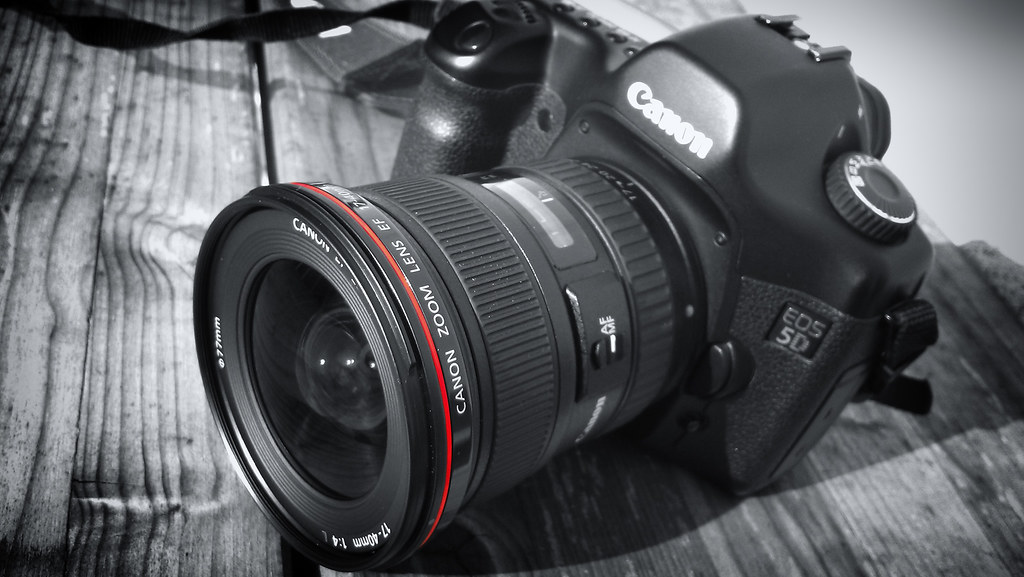
For this assignment we were told to research about the parts and functions of all the parts on a dlsr. the purpose of this prjoect or assignment was to get a better undtanding on how the dslr works, and also it gives us a better idea on how to use the dslr when taking shots. A few things i learned from the project is that the ISO is very important when taking shots. because it could either make the photo look really dark or really bright .