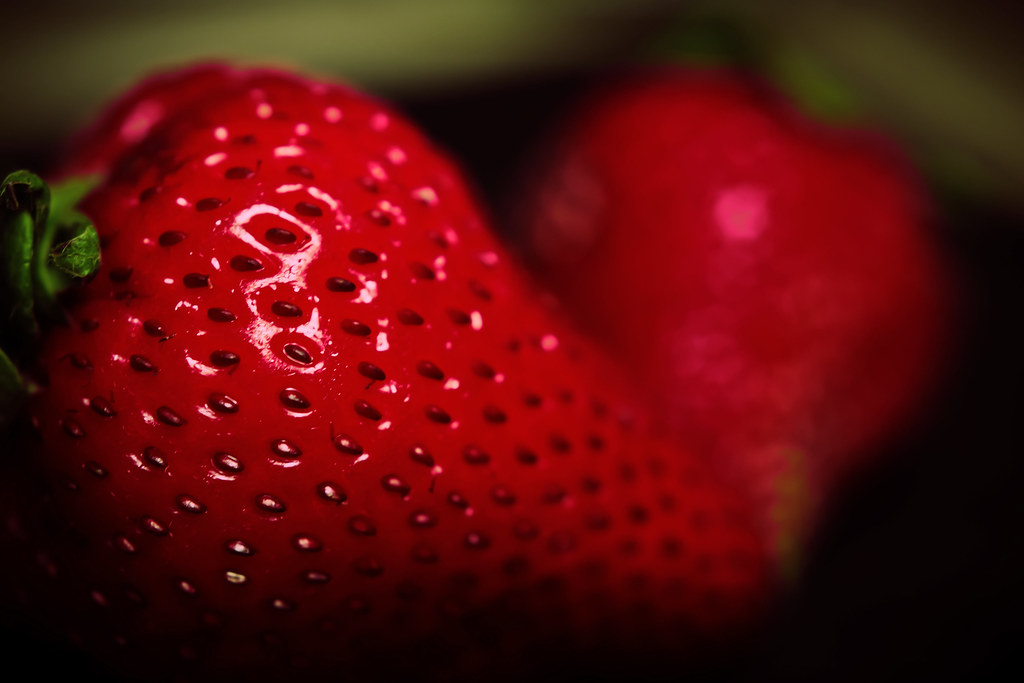
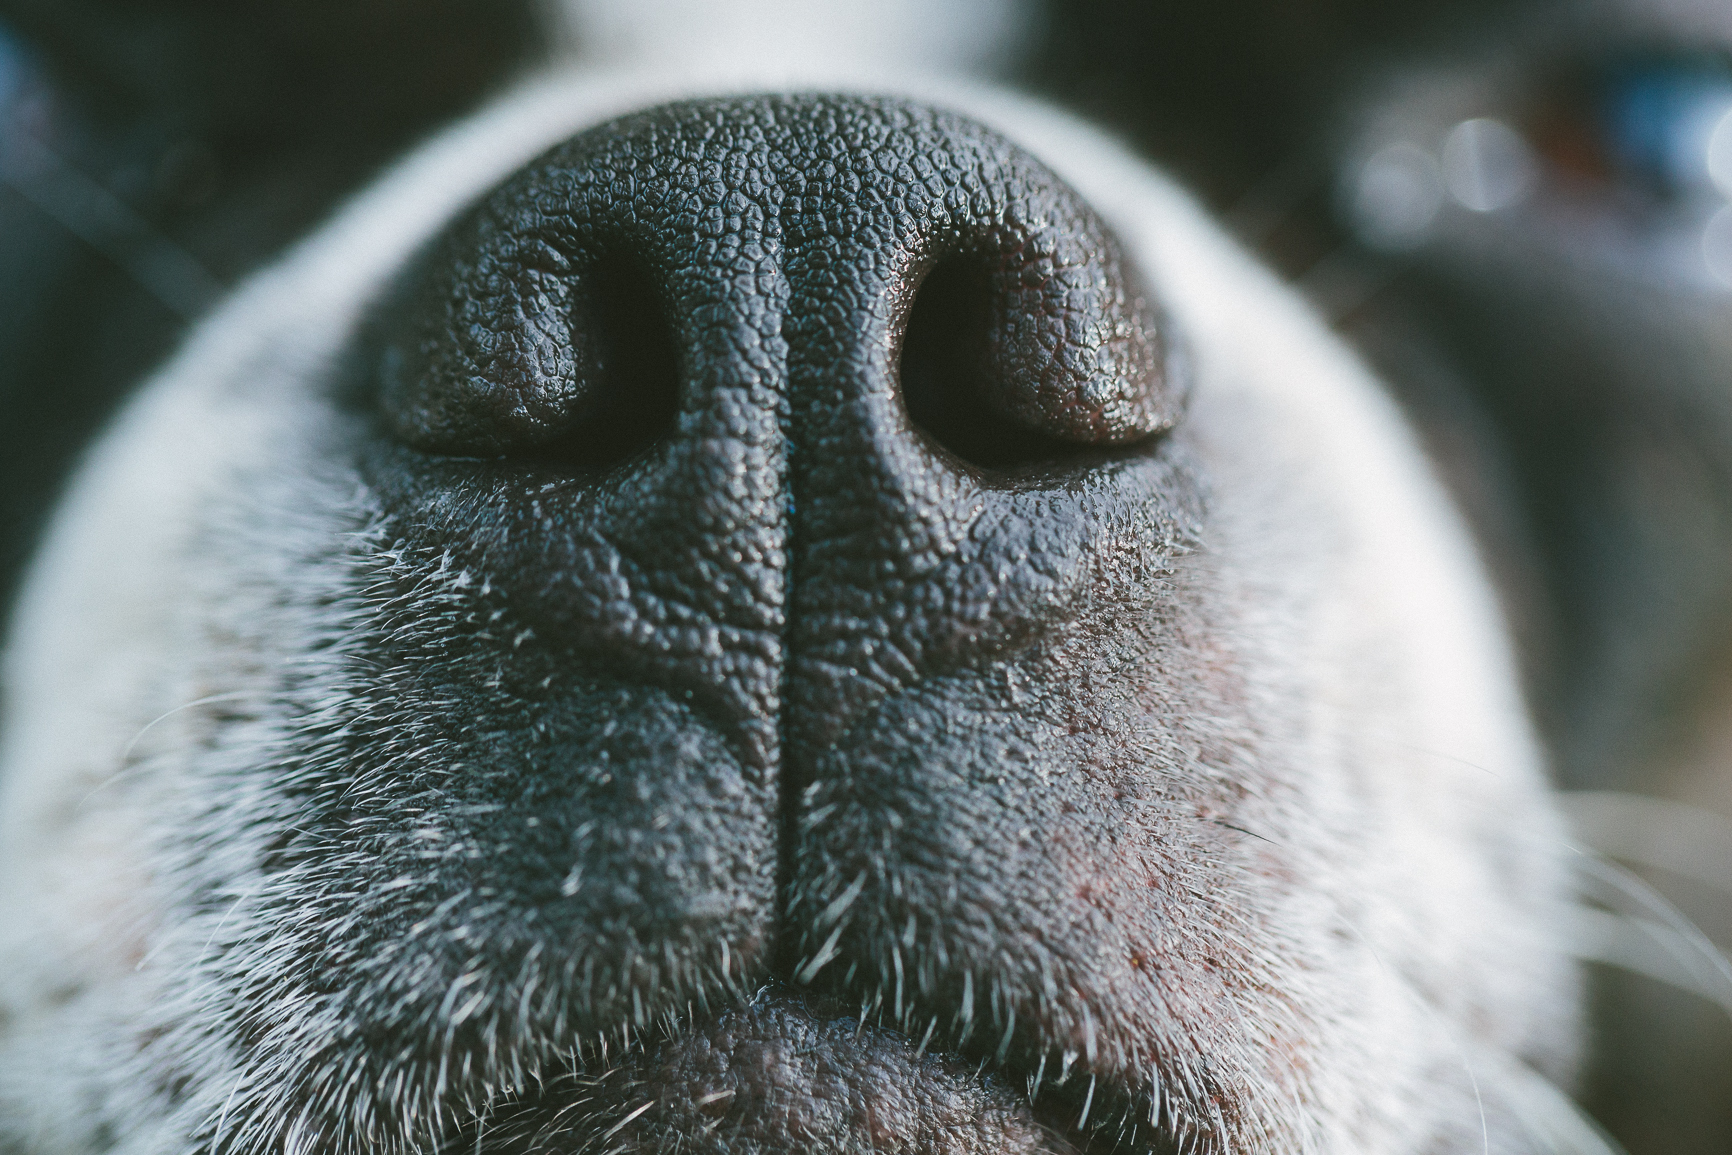
For this assignment, we were told to give macro photography a go. Macro photography, or in other words extreme close up photography means that you take a photograph of an objects finest details. This can mean using a magnifying glass or manual focus. This assignment was fun to do since there were no limits.
For this project we were told to take macro shots of everyday items. with this project ive learnt a few things, one would be that to take better photos you have to angle some shots before you take the picture. another one would be that the closer you are to the object the better its going to look.
For this project, I recreated the movie poster of King Kong. It wasn't too challenging to get the proper photos for my scene. Creating the background would be the most difficult part of my poster that I had to do. I played around with the gradient tool and different types of brushes to maintain a steady background. Overall I enjoyed this project and look forward to the future assignments ahead of us.
I chose the Before I Fall movie poster as my inspiration for the movie poster project because I thought it was a really cool poster to recreate or make a poster somewhat similar to it. It also meets the criteria of the movie poster, it has a lot of layers for the poster to be completely finished, that's where meeting the criteria comes in. It isn't easy but its also not hardcore, expert level. It's also fun to create and just adding effects on the pictures to match your liking.
All you really needed to do was take about 3-4 photos of yourself but from probably from your waist then up or from your stomach then up as long as your face is clear and visible. Then there's the background, for me, I made up my own background but still kept the picture of our school, I also added a Bokeh effect also known as those bubble light effects.
Then after that, all you need to really focus on are your profile, cropping them out getting rid of the space that aren't really needed for the poster and just selecting a portion of the profile edits then putting them altogether on a new document or one of your pictures. After them altogether i decided on putting a little more of Bokeh effect and its on a new layer, then messing around with it a bit by blurring it just the slightest. Then finishing the poster with a few words and our Flames quote.
For this project we were told to create our own stop motion videos, within this project i learned that to make a longer and smoother stop motion video, you have to move the figures centimeter by centimeter and take multiple shots as well. i also learned how hard and time consuming producing a stop motion animation is, because if you accidentally move the object your taking pictures of too far it come out really noticeable. Although all in all i enjoyed making a stop motion video, i think the experience from this will help me with future projects.
-Vince Torres
For this assignment we were told to go around the school, our homes, and anywhere else and take pictures of either objects and or structure that would resemble a letter. A few things i liked about this project was that it opened up my mind a little bit more and see things for more than what they really are. not only did it teach me to look at things and resemble them to objects it also taught me to be more creative, which i think is going to help me when taking future photos. And although it was a challenge for certain letters, but all in all i think i enjoyed doing this assignment.
Have you ever wondered what toys do when we are not around? Well then, now you know! Watch our fantastic stop motion about how friends gather around Mrs. MacFarlane Penner's corner and how they P A R T Y!
The process of making this stop motion took up 3 class times, it took another 3 classes to edit the movie. The hardest part was trying to keep the camera steady especially when we did not have a tripod. It was also hard to recreate the scene we left off at and continued the next class. The fun part was picking out the music and making the credits! We learned that stop motion takes a long time to create because you need to take so many photos for a one minute video. The easiest part was making up the story line with the help of Ms. Magalhaes. Overall, it was a fun project to do and the outcome ended up pretty good! :)
Our stop motion shows many of the different colors that are apart of the color wheel.
The basic storyline of this stopmotion is to have a variety of different colors, also we used the paper to sybolize that you can make anything with imagination. Meaning we colored the paper red to show it turning into an apple hense the color red. We used the different color of pencil crayons and the different color of m&m's to symobilize that they were a part of the pencil crayons. We also decided to use a combination of different items to make the stopmotion not basic and more interesting. We didnt want to settle with one item.
For this project we created a stop motion video. What we did good on was the choreography. We organized the parts in videos so that is tells a clear story. Our story was based on Christmas and the tradition of setting out cookies and milk for Santa enjoy. We could improve on being mores prepared. We didn't have a tripod at the time because we worked on it at home. We learned that stop motion requires many pictures in which the objects have to be moved slightly every picture to produce the visual of an inanimate object moving on its own, but you can also incorporate normal video to create a difference between the scenes. We also learned how to use the Movie Maker Program. We learned how to increase or decrease the amount of time the picture was shown. This was the key to making the video possible. We had few difficulties throughout this process. Only when we were finished did we have trouble.