For our next GCT project we were assigned to make a magazine cover where we had to include ourselves and make it look like an actual magazine. It also must contain four articles to complete the whole project.
First, we had to pick multiple magazine covers and use it as an inspiration for our magazines. Out of all the magazine covers that I picked, I chose the one which I thought was best and was possible to make even just for a beginner. We had to make a rough draft of the layout of our magazine, including the articles we were going to write in our magazine. Then I started the magazine and changing the layout along the way, but not too much that it won't look like the magazine it was inspired on. Then I added the articles and a bar code to make it somewhat look like an actual magazine.
I chose the Before I Fall movie poster as my inspiration for the movie poster project because I thought it was a really cool poster to recreate or make a poster somewhat similar to it. It also meets the criteria of the movie poster, it has a lot of layers for the poster to be completely finished, that's where meeting the criteria comes in. It isn't easy but its also not hardcore, expert level. It's also fun to create and just adding effects on the pictures to match your liking.
All you really needed to do was take about 3-4 photos of yourself but from probably from your waist then up or from your stomach then up as long as your face is clear and visible. Then there's the background, for me, I made up my own background but still kept the picture of our school, I also added a Bokeh effect also known as those bubble light effects.
Then after that, all you need to really focus on are your profile, cropping them out getting rid of the space that aren't really needed for the poster and just selecting a portion of the profile edits then putting them altogether on a new document or one of your pictures. After them altogether i decided on putting a little more of Bokeh effect and its on a new layer, then messing around with it a bit by blurring it just the slightest. Then finishing the poster with a few words and our Flames quote.
Over the winter break we were assigned to take a picture of anything that looked like any letter of the alphabet. Either its man made or nature made and we need to post it on our GCT Instagram or Twitter account.
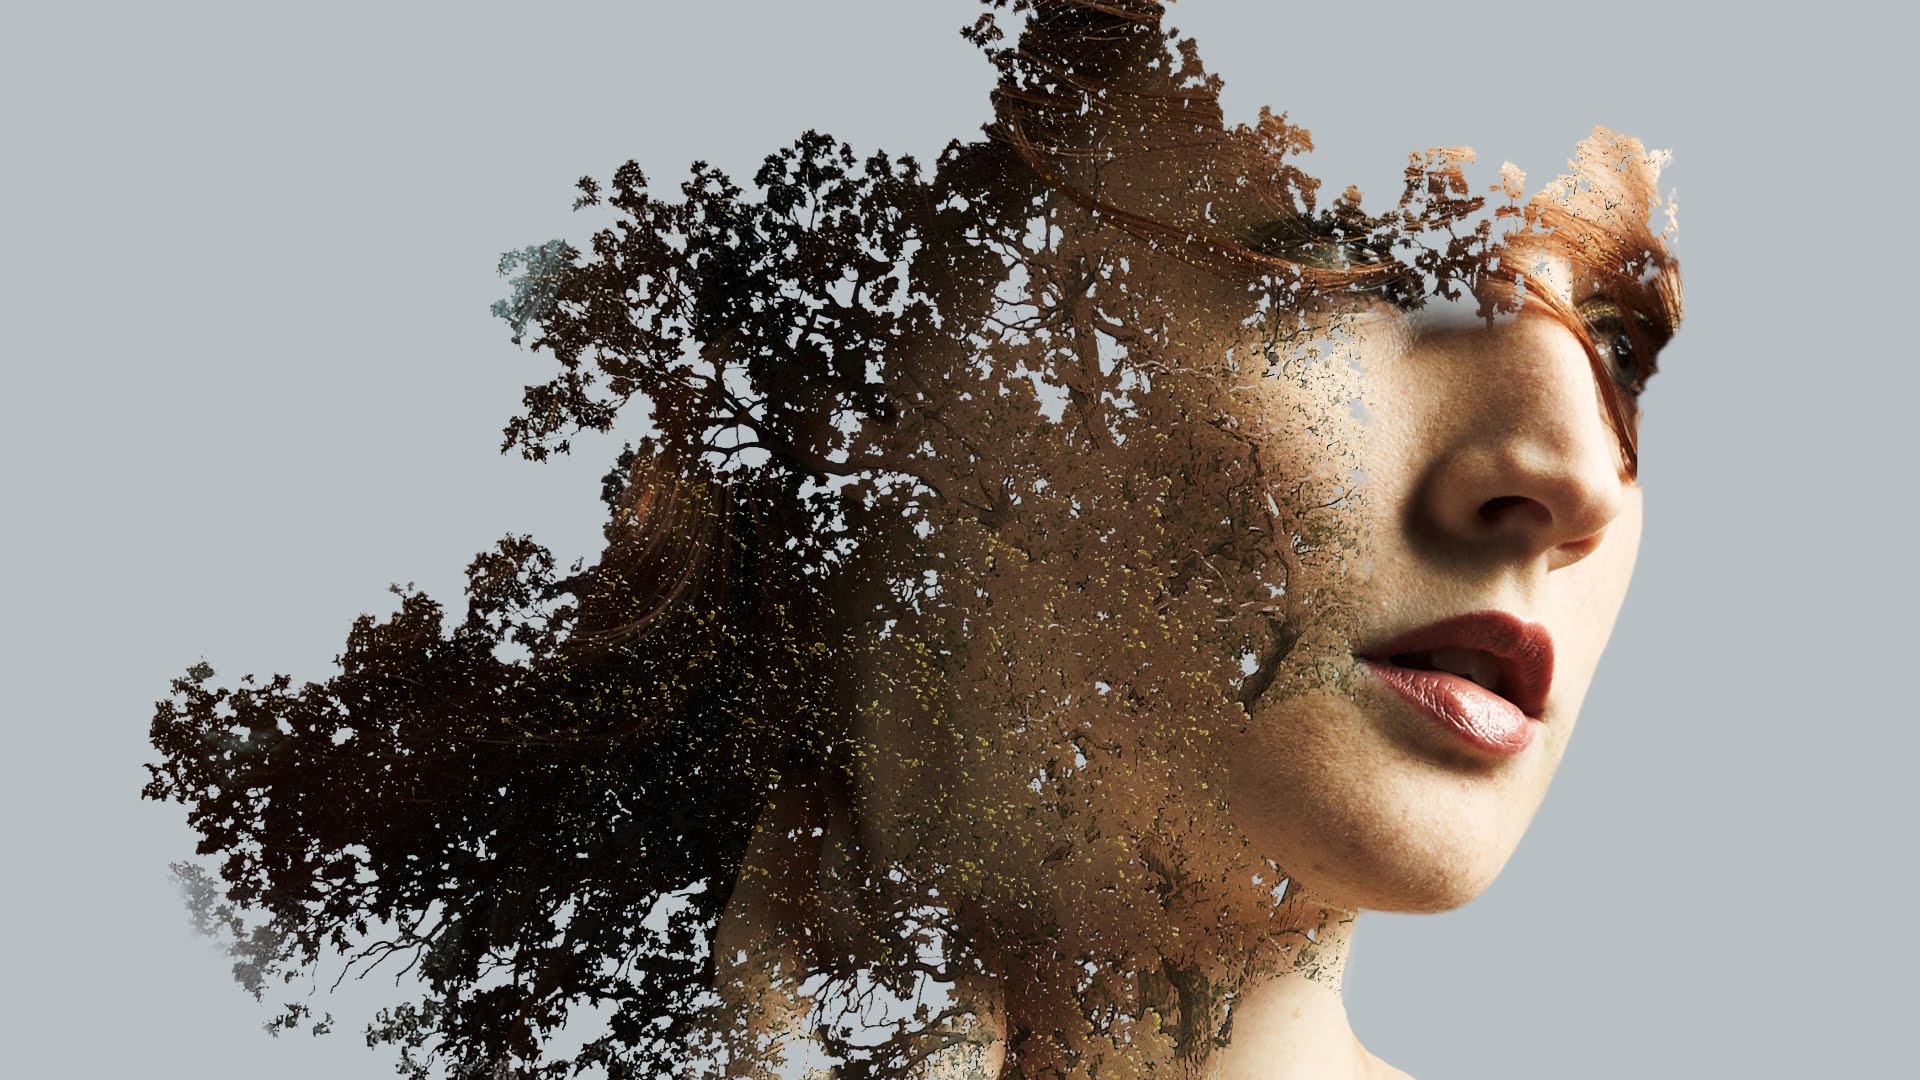
For my project I decided to do a double exposure effect using a two images for the project. One of a portrait and one of a leafy tree.
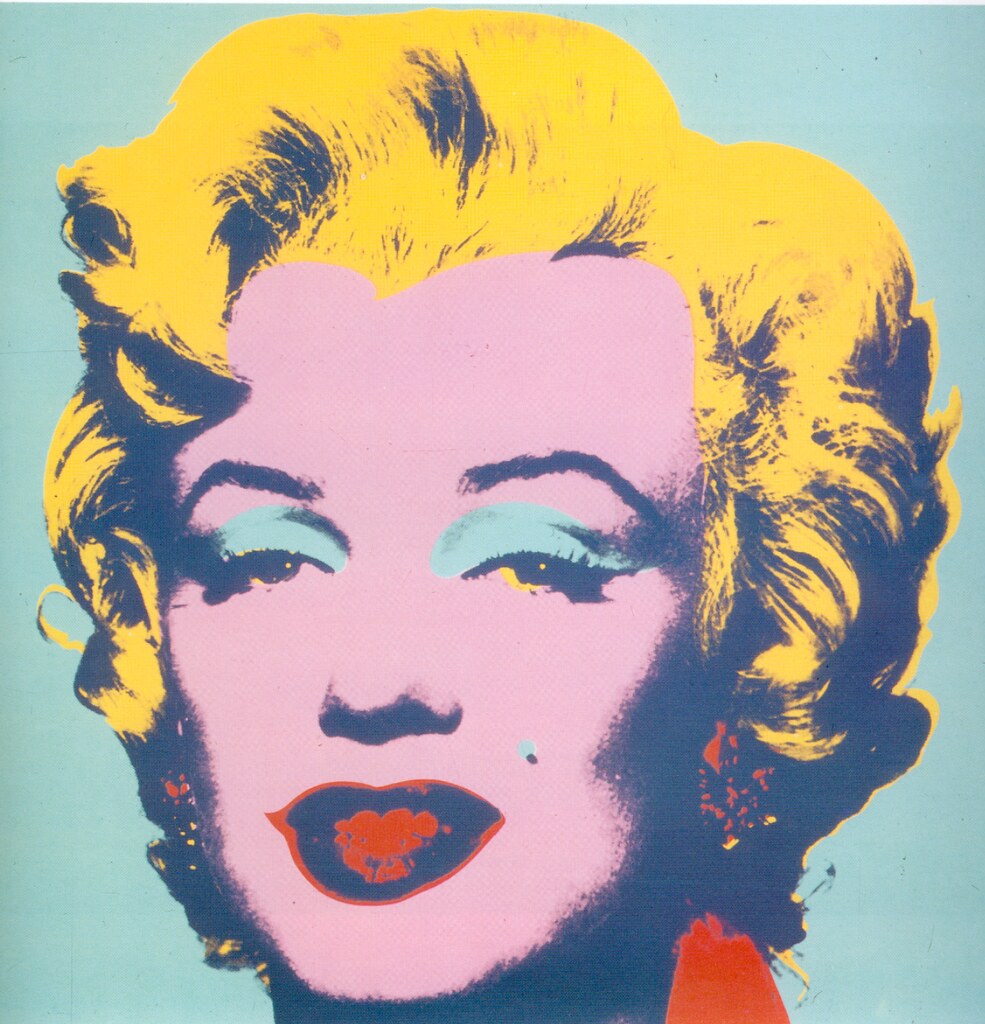
First, I picked a portrait of my cousin since it was the only picture that I actually took a picture of someone, I then picked one of the tree pictures that I have. I selected the tree first and layered it. Its pretty easy once you get the hang of it. It's nothing like the Andy Warhol assignment and this is much more complicated.
All you need to do is mask the tree first and get rid of the extra background and add a black and white filter. Then select the part of the portrait that you want to be visible in the edit. To make a fading effect use a the gradient tool and make a line from left to right until you reached the level of transparency you want for your picture. to get rid of the excess portrait just erase them using the erasing tool. If you want some extra effects you can add a filter to spice things up.
For a better understanding on how to do this kind of effect there's a video and the website is down below.