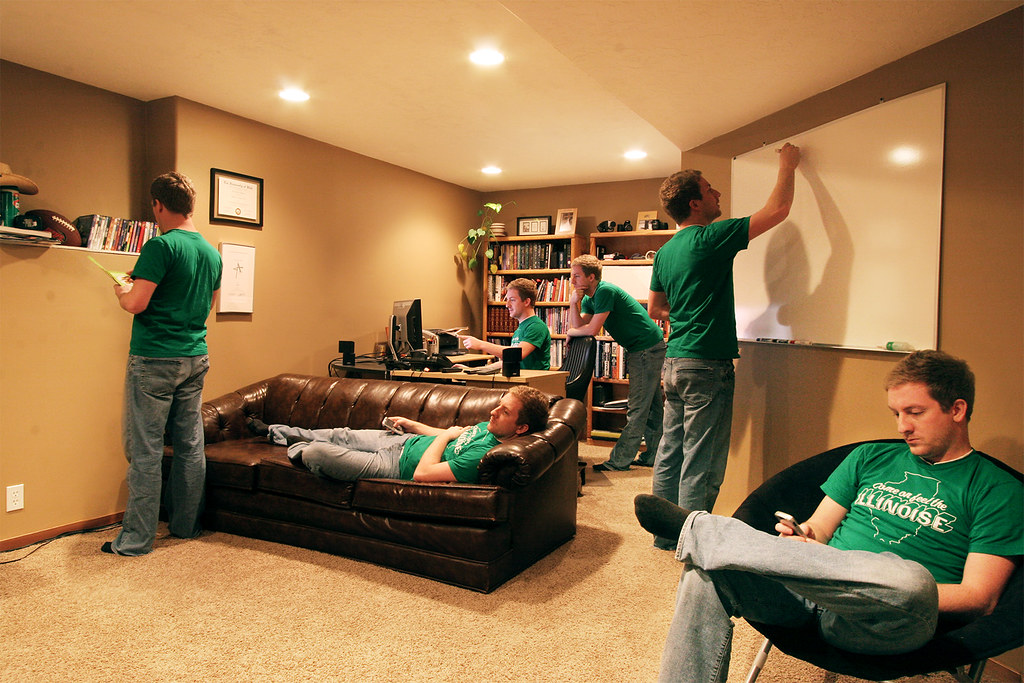
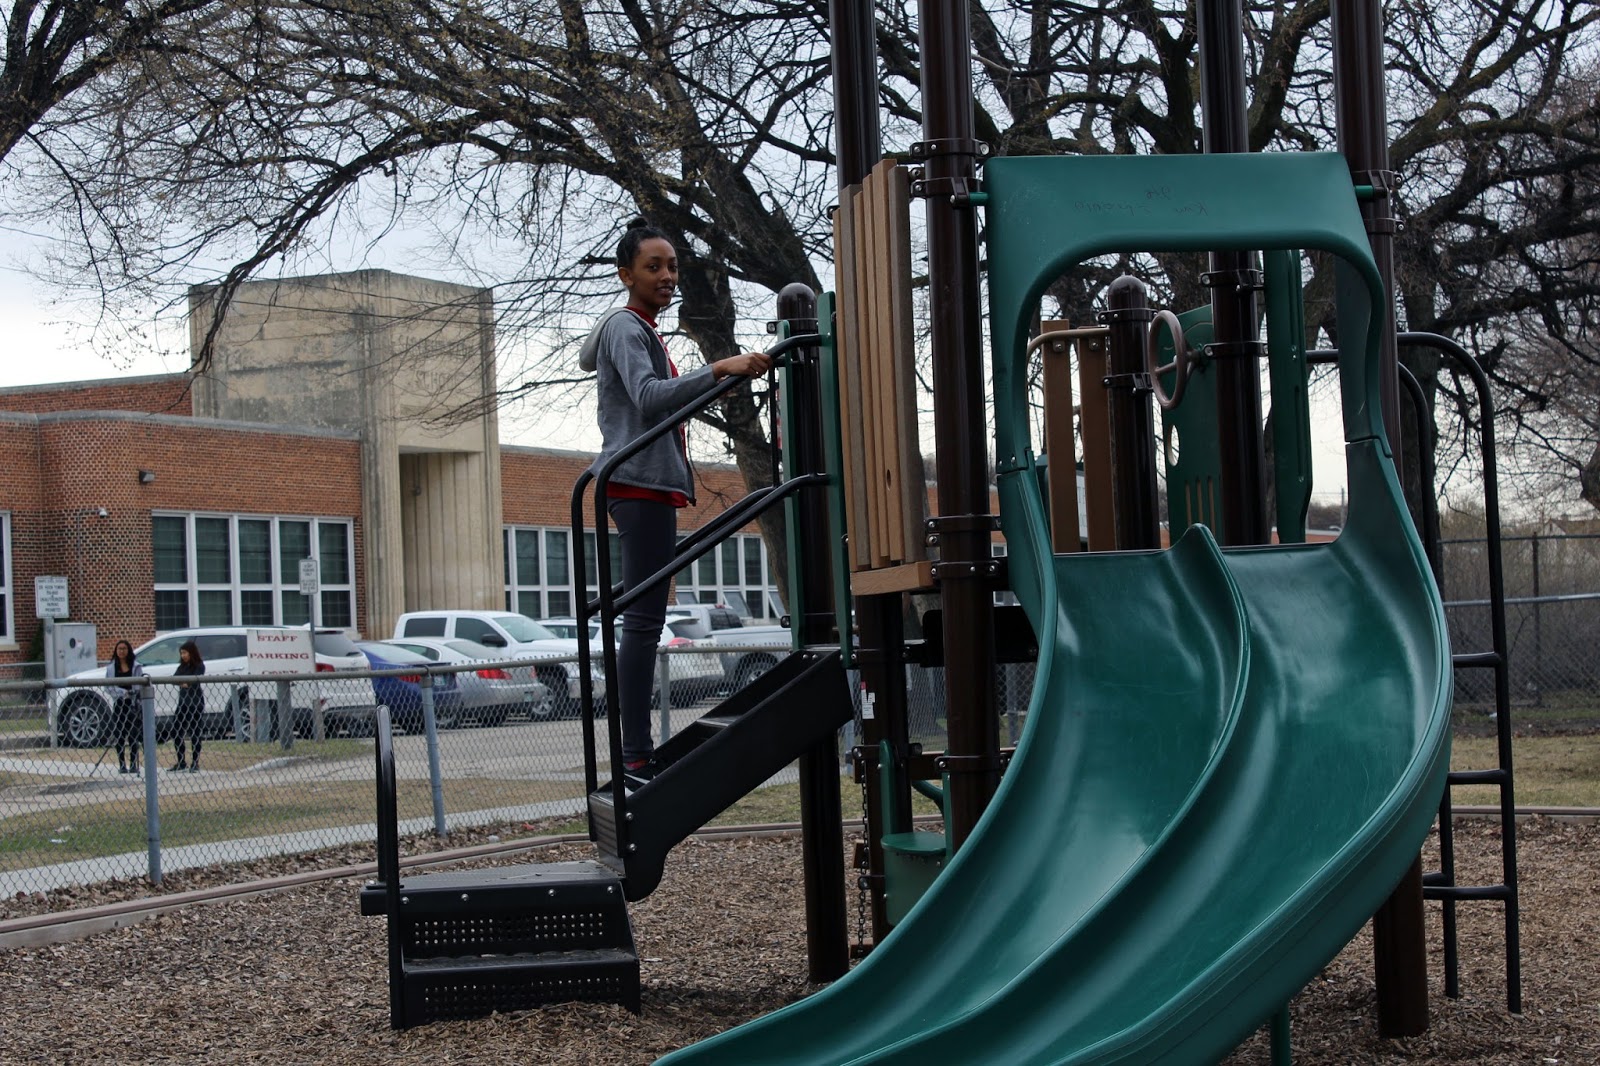
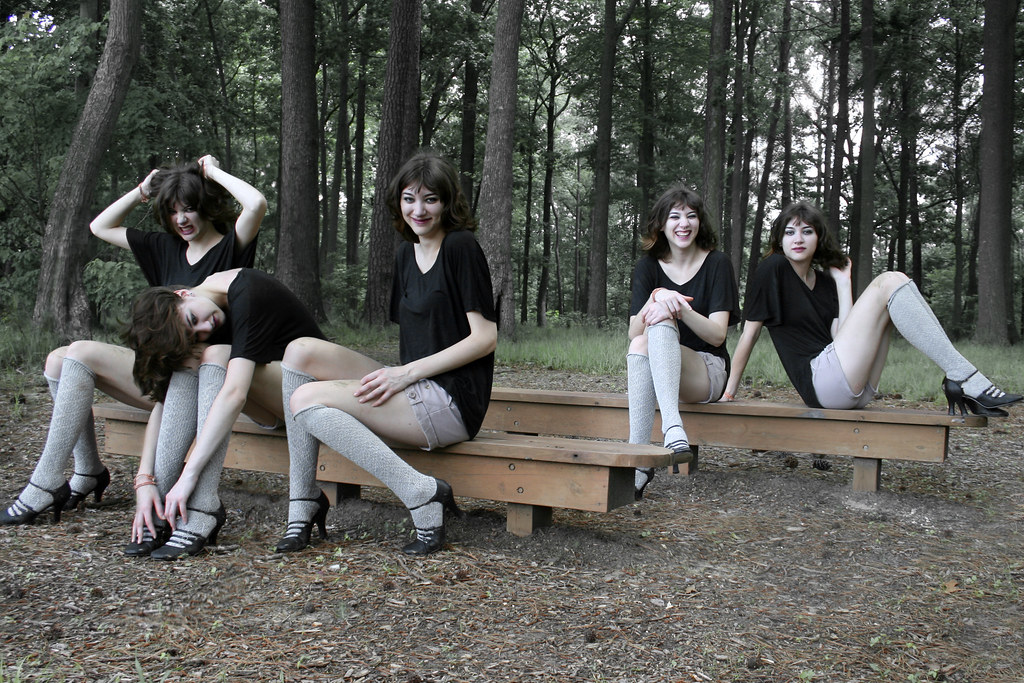
This assignment is called Photomerge. We used a tripod and took pictures of the same person in different positions but using the same setting every time. After you have all the pictures you have to use Photoshop Elements and choose all the pictures you are going to use. After select, all the pictures in photo bin you are going to use and it shows you on the screen that you have to draw a line over the person and it will photoshop it for you.
https://c1.staticflickr.com/1/128/321378809_1df33867ba_b.jpg
For this assignment, we had to
take pictures of our subject posing in different parts of the room.
To make
this type of image, we first had to take pictures of the people/person in our
project without the background moving which is why we needed to use a tripod.
We then had to clean up our pictures. Then, select the images, go to Enhance and
press Photomerge Group Shot. Next, you take your pencil tool and draw on your
subject to transfer them onto the picture on the right side where everything
will go to. If you wanted to get rid of a body part of a person, you would use
the eraser tool and just simply click on the body part. Click done and make
sure to save it as a jpg so you can post it on your blogger.
Rough :
Photos Used:
Final
We took photos of other people and edited to make it seem like there is multiple of the same person in.
RAW
Before
After
Final
Before
After

If you want to learn how to do this you have to take photos of the same person in different positions, you can use a tripod so the camera can stay in place and you just have to click the button to take a picture. Once you got you photos go put them into Adobe Photoshop Elements, make sure all of them are in the photo bin to make sure the photo merge will work. After that, you can edit your photos to make it look better, but I did it after the photo merge because there were different lighting and exposure and other stuff when I merged the photos. Once you did what you like to the photo go to Enhance and go to PhotoMerge then click PhotoMerge GroupShot. Then select all the photos you want from the photo bin by pressing shift or you can click select all. Then drag your last photo to the left to a box (by the way all the photos will be highlighted in different colors in the photo bin). Then use the pencil and draw around the same person in each photo and it will show you on the right box what happens when you do that you can use an eraser when you don't want something in the picture. After that, you can click done and can edit it to make the picture better like I had done.